
Customizing a flashlight allows you to create a tool that perfectly suits your needs—whether for tactical use, outdoor adventures, or everyday carry. In this guide, we’ll walk you through the process of customizing a flashlight step-by-step, covering key aspects such as LED selection, battery options, beam types, and housing materials.
1. Determine Your Purpose and Requirements
Start by identifying what you’ll use the flashlight for:
- Tactical: High brightness, strobe mode, durable build.
- Outdoor: Long runtime, weather resistance, adjustable focus.
- Inspection: UV or specific color LEDs for detailed tasks.
- Everyday Carry (EDC): Compact size, balanced brightness, lightweight.
?? Pro Tip: Make a list of features you need before proceeding to customization.
2. Choose the Right LED Type
The LED is the heart of your flashlight. Choose based on brightness, efficiency, and color temperature.
| LED Type | Brightness (Lumens) | Color Temperature | Best For |
|---|---|---|---|
| Cree XM-L2 | 1,000 – 1,500 | Cool White | Tactical, Outdoor |
| Nichia 219C | 500 – 900 | Neutral White | EDC, Reading |
| UV LED (365nm/395nm) | 100 – 500 | Ultraviolet | Inspection, Currency Detection |
| Osram P9 | 1,500 – 2,000+ | Cool White | Long-Distance, Tactical |
?? Key Consideration: Higher lumens mean brighter light but can reduce runtime.
3. Select Beam Type and Optics
The beam type affects how the light is spread.
| Beam Type | Characteristics | Use Case |
|---|---|---|
| Spot Beam | Focused, long-distance | Search and Rescue |
| Flood Beam | Wide, even spread | Camping, Close-range tasks |
| Adjustable Beam | Switch between spot and flood | Versatile outdoor use |
?? Pro Tip: Adjustable beams offer flexibility for various tasks.
4. Choose the Battery Type
Battery selection impacts runtime and power.
| Battery Type | Pros | Cons |
|---|---|---|
| 18650 Li-ion | High capacity, rechargeable | Larger size |
| CR123A | Long shelf life, compact | Expensive, non-rechargeable |
| AA/AAA | Widely available, affordable | Lower capacity |
| 21700 Li-ion | Longer runtime, high output | Limited compatibility |
?? Key Tip: Rechargeable options like 18650 are cost-effective for frequent use.
5. Customize Housing and Materials
- Aluminum: Lightweight, durable, and common.
- Stainless Steel: Heavier but highly durable.
- Polymer: Lightweight but less durable.
Add personalized touches:
- Engravings: Add names, logos, or emergency information.
- Colors: Choose anodized finishes for corrosion resistance.
- Grips: Rubber or knurled patterns for better handling.
6. Customize Modes and Controls
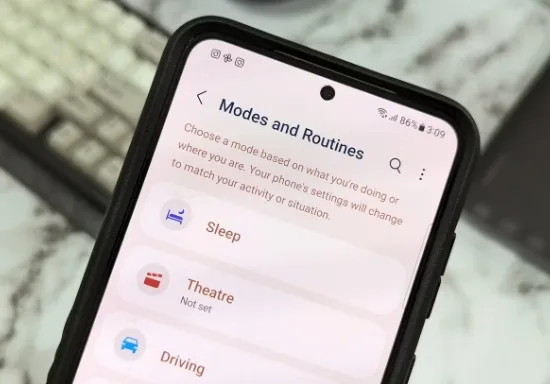
Most flashlights offer multiple modes:
- High, Medium, Low: For different brightness levels.
- Strobe: For tactical or signaling use.
- SOS: For emergencies.
?? Tip: Ensure the UI is simple for fast mode changes.
7. Add Accessories
- Lenses: Red for night vision, green for hunting.
- Filters: Diffusers for soft lighting.
- Mounts: Bicycle or weapon mounts for hands-free use.
?? Useful Add-ons:
- Lanyards or clips for easy carry.
- Remote pressure switches for tactical use.
8. Compare Customization Costs
| Customization Aspect | Basic Cost | Advanced Cost |
|---|---|---|
| LED Upgrade | $10 – $30 | $40+ |
| Battery and Charger | $15 – $25 | $30+ |
| Housing Customization | $20 – $40 | $50+ (Engraving) |
| Accessories (Filters, Mount) | $5 – $15 | $20+ |
?? Cost-Saving Tip: Focus on essential upgrades first.
9. Testing and Maintenance
- Waterproof Testing: Use IPX ratings (IPX6 for water-resistant, IPX8 for submersible).
- Battery Care: Avoid overcharging and extreme temperatures.
- Lens Cleaning: Use microfiber cloths to prevent scratches.
10. Summary: Customization Checklist
| Aspect | Selection Made |
|---|---|
| LED Type | [Your Choice] |
| Beam Type | [Your Choice] |
| Battery Type | [Your Choice] |
| Housing Material | [Your Choice] |
| Modes and Controls | [Your Choice] |
| Accessories | [Your Choice] |
? Final Tip: Test the flashlight after every upgrade to ensure compatibility and performance.
