
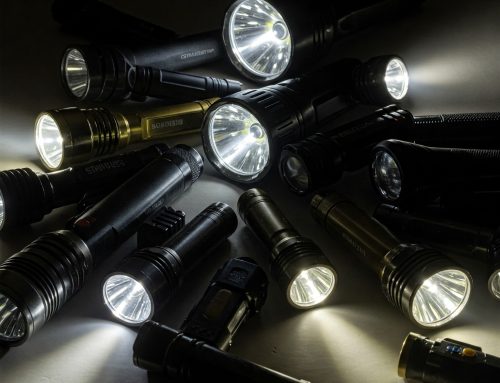
Creating a custom flashlight allows you to design a lighting tool that meets your specific needs, whether for tactical use, outdoor adventures, or professional tasks. This guide will walk you through the essential steps of making your own custom flashlight, from selecting components to assembly and testing.
1. Understand the Basic Components of a Flashlight
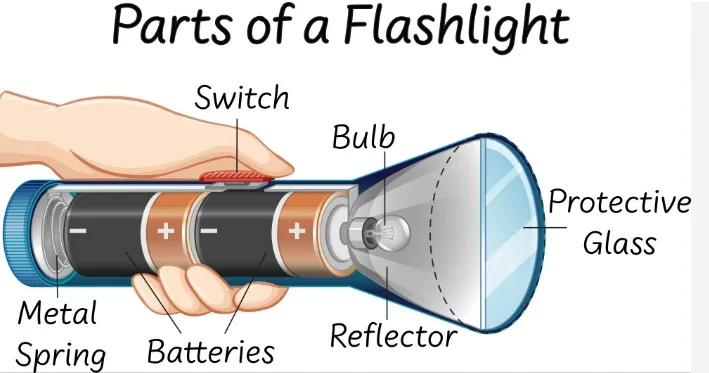
A flashlight typically consists of several key parts, each with its own function. Let’s break down these components to help you understand what goes into building a custom flashlight:
| Component | Description |
|---|---|
| LED (Light Emitting Diode) | The light source of the flashlight. Choose based on brightness (lumens) and color temperature. |
| Battery | Provides power to the flashlight. Common options include 18650, 14500, or AA batteries. |
| Reflector | Helps direct the light emitted from the LED into a beam, affecting the focus and spread of the light. |
| Lens | A transparent cover that protects the LED and helps focus the beam. |
| Body | The casing that holds all the components together. It can be made of aluminum, stainless steel, or polymer. |
| Switch | The mechanism that turns the flashlight on or off, and may offer multiple modes (high, low, strobe). |
2. Step-by-Step Guide to Making a Custom Flashlight
Step 1: Choose the Right LED
The LED is the heart of the flashlight, and selecting the right one is critical for determining the brightness and application of your custom flashlight.
| LED Type | Brightness (Lumens) | Color Temperature | Best For |
|---|---|---|---|
| Cree XM-L2 | 1,000–1,500 | Cool White | Tactical, Outdoor, and EDC |
| Cree XP-L | 1,000–2,000 | Neutral White | High Power, Long-distance use |
| UV LED (365nm) | 100–500 | Ultraviolet | Inspection, Currency Detection |
| Nichia 219C | 500–900 | Neutral White | Everyday Carry (EDC), Reading |
Tip: Choose an LED with a higher lumen output if you need a brighter flashlight, and a low temperature LED (around 5000K) for a more natural light.
Step 2: Select the Right Battery
The battery choice affects your flashlight’s runtime, power output, and portability.
| Battery Type | Capacity (mAh) | Voltage | Pros | Cons |
|---|---|---|---|---|
| 18650 Li-ion | 2,500–5,000 | 3.7V | Long-lasting, rechargeable | Larger size, requires a charger |
| 14500 Li-ion | 600–1,200 | 3.7V | Compact, rechargeable | Limited capacity compared to 18650 |
| AA Alkaline | 2,000–3,000 | 1.5V | Readily available, inexpensive | Non-rechargeable, shorter runtime |
| CR123A | 1,500–2,500 | 3.0V | High energy density, compact | More expensive, non-rechargeable |
Recommendation: For most custom flashlights, 18650 Li-ion batteries offer the best balance of power and runtime.
Step 3: Choose a Reflector and Lens

The reflector helps to focus the light, while the lens protects the LED and can affect the beam pattern.
- Reflector Types:
- Smooth Reflector: Creates a focused, long-range beam (ideal for tactical use).
- Textured Reflector: Produces a more diffused beam (best for flood lighting in close-up tasks).
- Lens Options:
- Glass Lens: Offers better durability and scratch resistance.
- Polycarbonate Lens: Lightweight but less scratch-resistant.
Tip: Choose a smooth reflector for a focused beam and a glass lens for better durability and focus.
Step 4: Customize the Body and Switch
The body of the flashlight holds all the components together. You can customize the material and shape to suit your needs.
- Materials:
- Aluminum Alloy: Lightweight, corrosion-resistant, and commonly used.
- Stainless Steel: Heavier, but more durable and scratch-resistant.
- Polymer: Lightweight and cost-effective but less durable.
- Switches:
- Clicky Switch: Common in tail-cap switches, easy to operate.
- Rotary Switch: A smooth dial for adjusting brightness.
- Side Switch: Offers different modes, commonly seen in higher-end flashlights.
Recommendation: For EDC flashlights, an aluminum body with a clicky tail switch is ideal for its balance of weight and durability.
Step 5: Assemble the Flashlight
Once you have all the components, carefully assemble them:
- Install the LED module into the flashlight head.
- Attach the reflector and lens securely.
- Insert the battery into the body, ensuring it’s properly aligned with the contacts.
- Attach the tail cap or side switch to complete the flashlight body.
Step 6: Test and Adjust
After assembling the flashlight, turn it on and test it for brightness, functionality, and durability. Make sure to check:
- Brightness settings: Ensure the light is as bright as expected.
- Battery life: Test the runtime.
- Beam pattern: Ensure the beam is focused or diffused as needed.
Tip: If you’re using adjustable focus, test it to make sure the beam shifts smoothly between spot and flood modes.
4. Tips for Enhancing Your Custom Flashlight
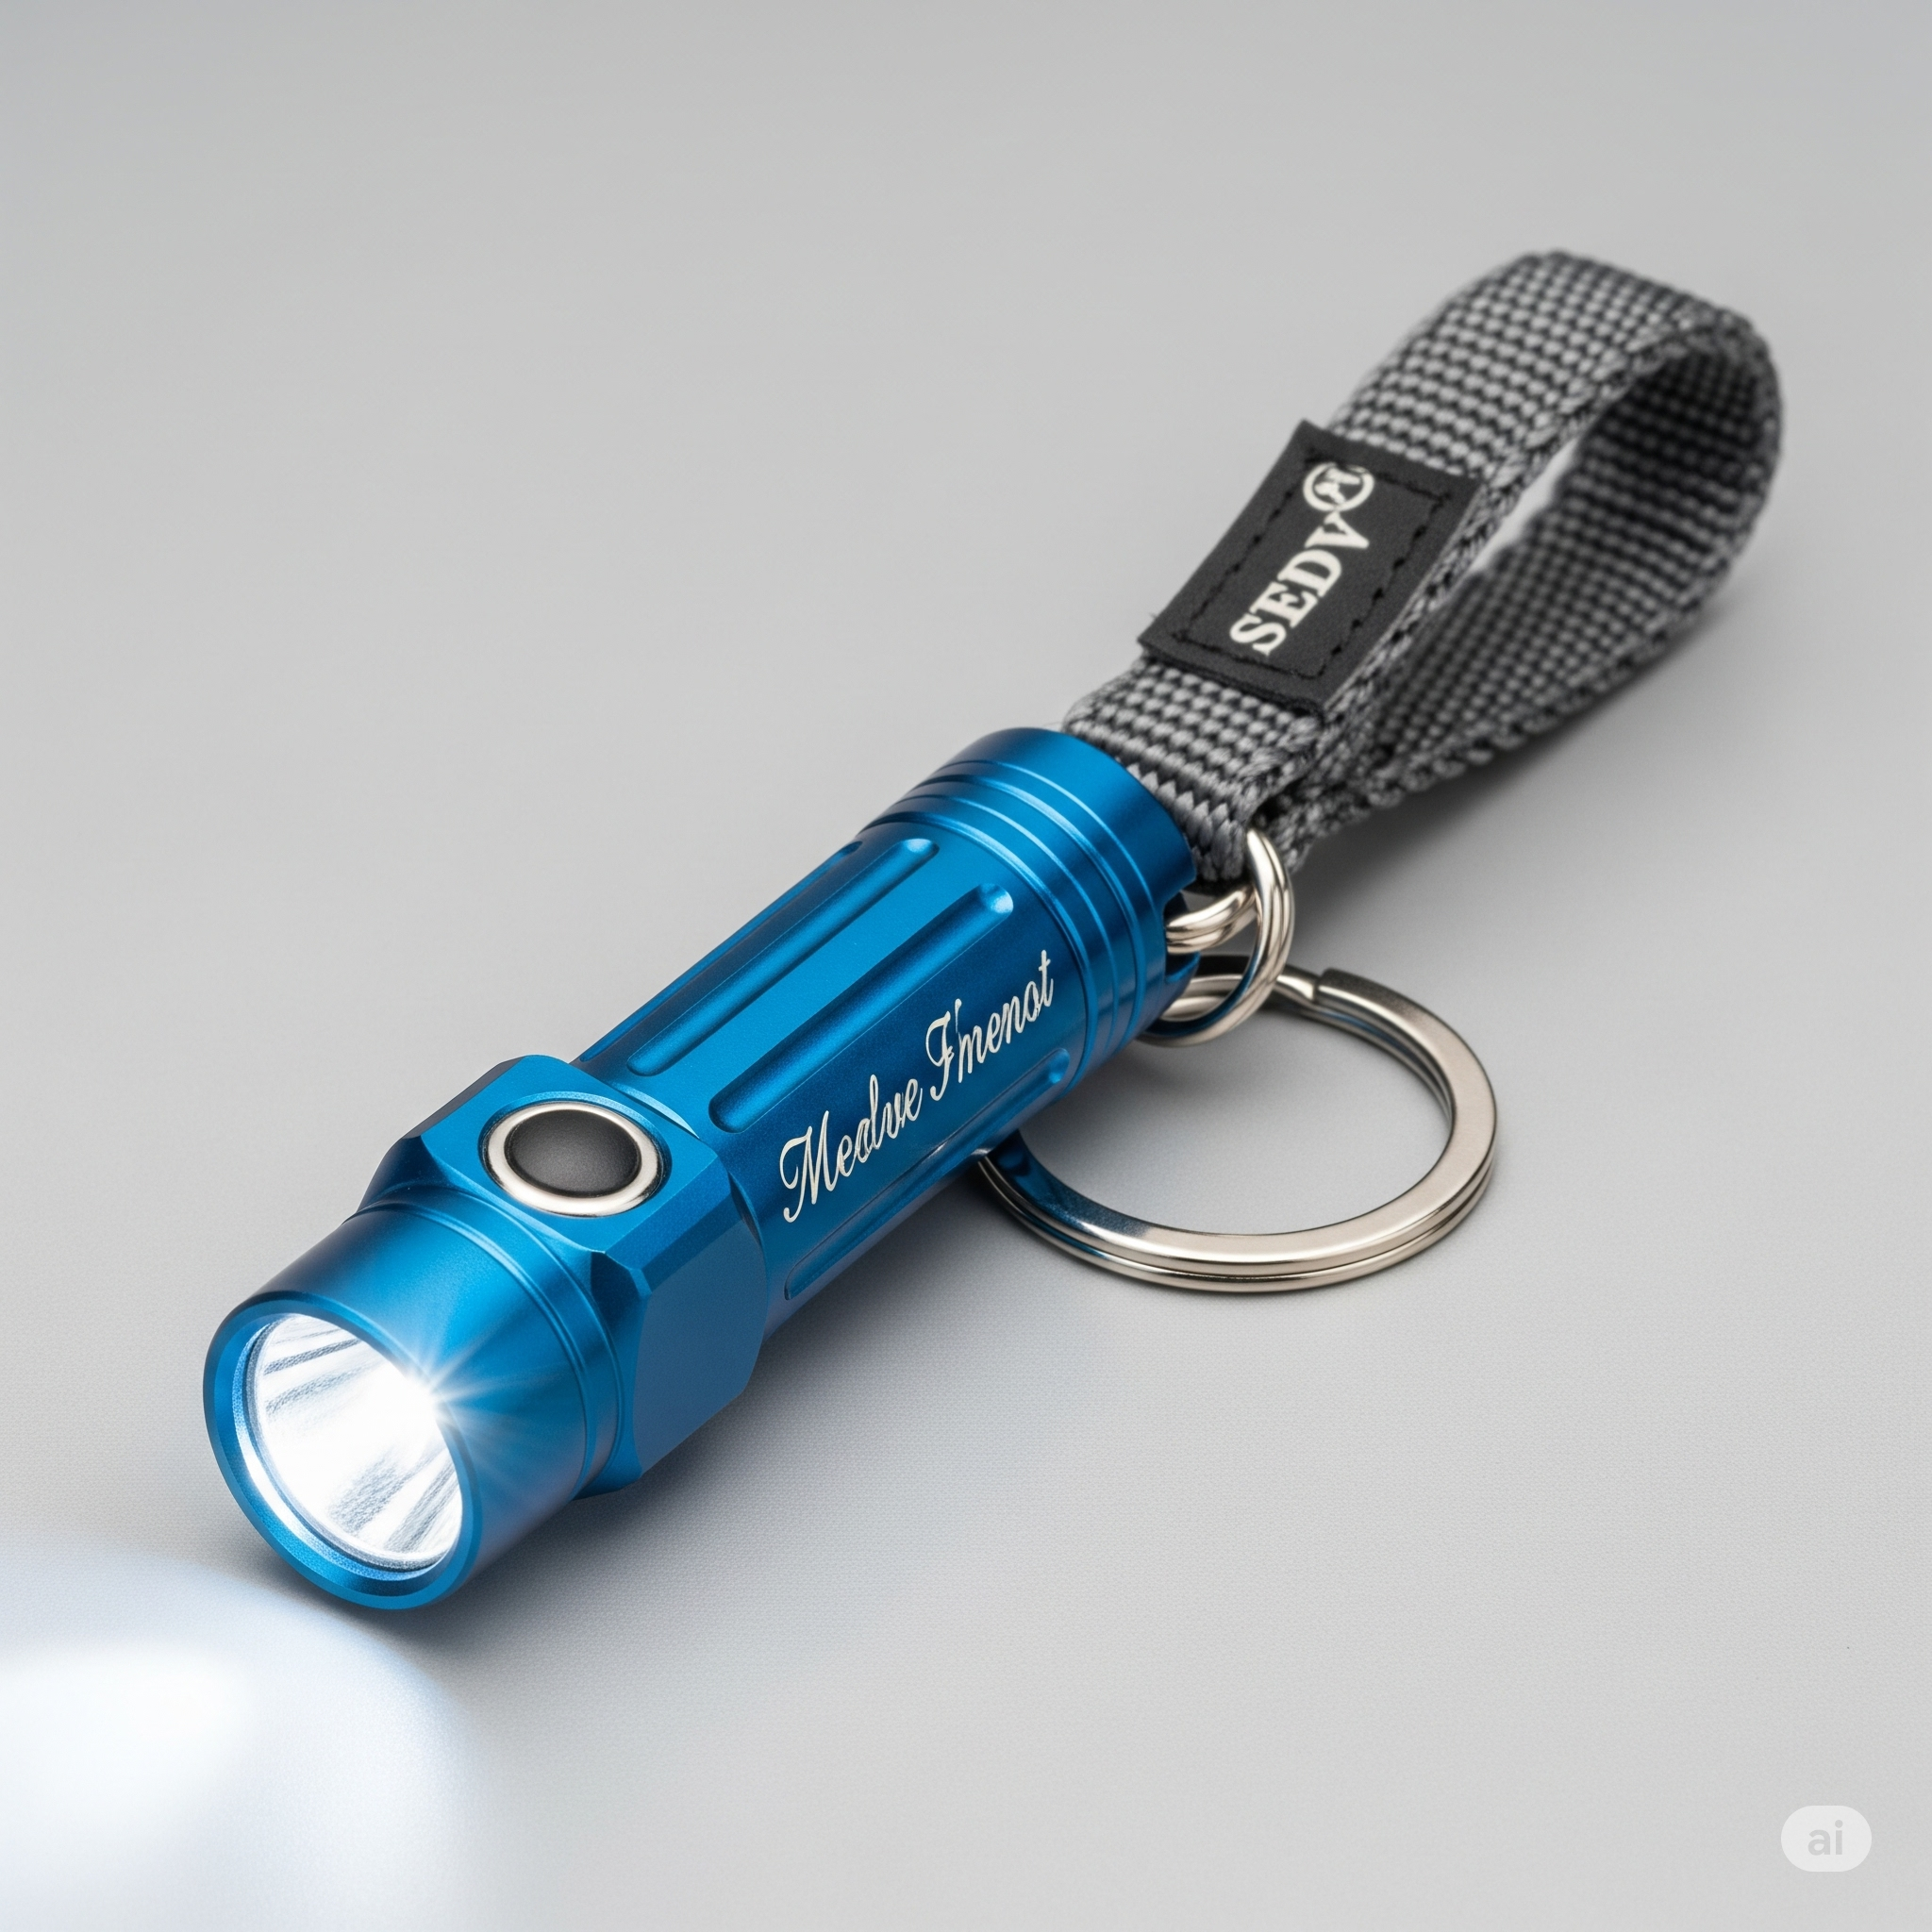
- Personalization: Add custom engraving to the body of your flashlight for a personal touch.
- Waterproofing: For outdoor and tactical use, ensure your flashlight is rated with IPX8 or better for waterproofing.
- Overcurrent Protection: Install a protective circuit to prevent overcharging or overheating of the battery.
Conclusion
Building a custom flashlight gives you complete control over the features and performance of the tool. Whether you’re creating a powerful tactical flashlight, a compact EDC flashlight, or a specialized UV flashlight, customization allows you to design a light source tailored to your needs.
By carefully selecting each component—such as the LED, battery type, lens, and beam pattern—you can create the perfect flashlight for any purpose. Happy customizing!
