
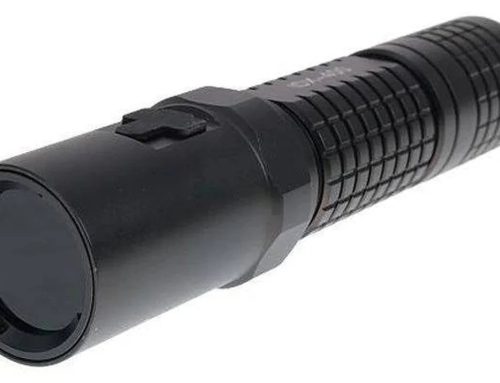
Regular maintenance and cleaning are essential to ensure your blacklight flashlight operates at peak performance. Whether you use it for detecting counterfeit currency, inspecting for stains, or for mineral identification, keeping it in top shape ensures accurate results and prolongs its lifespan. This guide provides a detailed, step-by-step approach to cleaning your blacklight flashlight.
Why Cleaning Your Blacklight Flashlight is Important
Keeping your flashlight clean enhances its UV performance, maintains brightness, and extends battery life. Dust, dirt, or oil can block the UV light or obscure its effectiveness, making it harder to detect fluorescence.
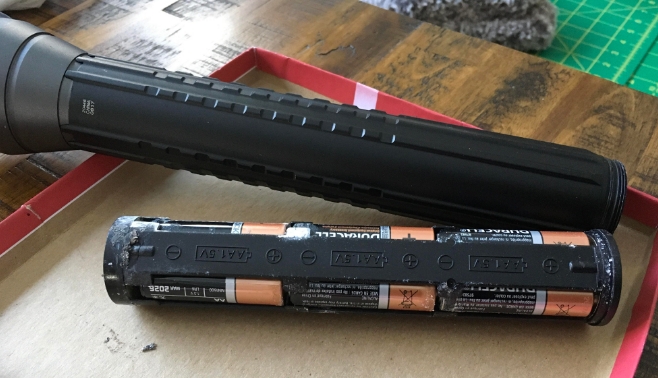
Step 1: Turn Off the Flashlight and Remove the Batteries
Before starting the cleaning process, ensure the flashlight is turned off and any batteries are removed. This prevents accidental activation while cleaning and helps avoid battery leakage or corrosion.
Tip: If your flashlight has rechargeable batteries, ensure it is unplugged from the charging port.
Step 2: Clean the Lens
The lens is the most important part of the flashlight, as it focuses the UV light and ensures optimal performance. Here’s how to clean it:
| Item | Materials | Instructions |
|---|---|---|
| Lens Cleaning Cloth | Soft microfiber cloth | Gently wipe the lens in circular motions to avoid scratching. |
| Lens Cleaning Solution | Lens or eyeglass cleaner (or a mixture of water and rubbing alcohol) | Spray a small amount of solution on the cloth, not directly on the lens. |
Important Notes:
- Never use abrasive materials, as they can scratch the lens.
- Do not directly spray cleaner on the lens; always apply it to the cloth.
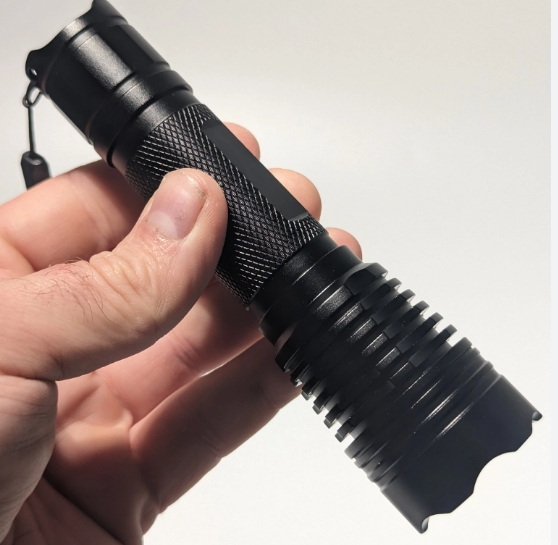
Step 3: Clean the Body and Handle
The body of your flashlight can accumulate dust, oil, or grime from frequent handling. To clean the body:
| Item | Materials | Instructions |
|---|---|---|
| Soft Cloth or Sponge | Microfiber or soft cotton cloth | Dampen the cloth with water (or a mild soap solution) and wipe the body. |
| Mild Soap (Optional) | Gentle dish soap | Use a small amount diluted in water to clean the flashlight’s surface. |
Important Notes:
- Avoid using harsh chemicals that may damage the materials.
- For stubborn stains, use a soft sponge with soap but ensure it is not too wet.
Step 4: Clean the Switch and Charging Ports (If Applicable)
The switch and any charging ports should also be cleaned to ensure smooth operation. Here’s how:
| Item | Materials | Instructions |
|---|---|---|
| Cotton Swab | Dry or lightly dampened cotton swab | Gently clean around the switch and in the crevices to remove dirt. |
| Compressed Air | Optional: Canned air or air compressor | Use to blow out dirt or dust in hard-to-reach areas like the charging port. |
Important Notes:
- Be gentle around switches and ports to avoid damage to internal components.
- If the flashlight is rechargeable, ensure the charging port is dry before reinserting the cable.
Step 5: Clean the Reflector and LED (If Necessary)
The reflector directs UV light from the LED, and it can accumulate dust or dirt over time. Here’s how to clean it:
| Item | Materials | Instructions |
|---|---|---|
| Soft Brush | Small paintbrush or cleaning brush | Gently sweep dust away from the reflector. |
| Compressed Air | Optional: Canned air or air compressor | Use to clear out any remaining particles from the reflector area. |
Important Notes:
- Be extremely careful not to touch the LED or reflector directly with your fingers.
- Never use any liquids on the LED or reflector to avoid damage.
Step 6: Reassemble and Test the Flashlight
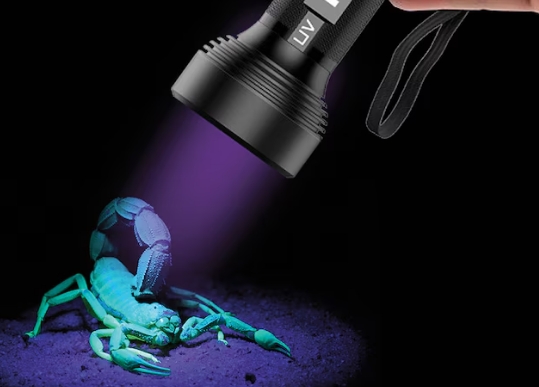
After cleaning, reassemble your flashlight by reinserting the batteries (or recharging, if applicable). Turn on the flashlight to ensure that the UV light is working correctly and that the beam is not obstructed.
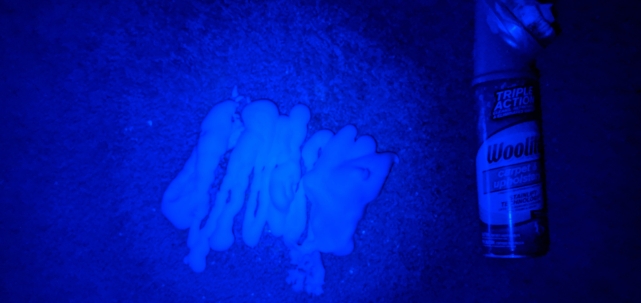
- Test the UV Light: Shine the light on a fluorescent material to ensure the UV output is strong and consistent.
- Check for Battery Performance: If rechargeable, ensure the charging port is functioning properly.
Additional Tips for Maintaining Your Blacklight Flashlight
| Tip | Description |
|---|---|
| Regular Cleaning | Clean your flashlight every 1-2 months or after heavy use. |
| Store Properly | Store in a dry, cool place to prevent damage from humidity or extreme temperatures. |
| Avoid Direct Sunlight | Keep the flashlight away from direct sunlight for prolonged periods, as UV light can degrade the internal components. |
| Battery Care | Avoid overcharging rechargeable flashlights and never leave them unused for long periods. |
Conclusion
Regular cleaning and maintenance of your blacklight flashlight are essential to ensure its longevity and optimal performance. By following this step-by-step guide, you can keep your flashlight in top condition, ready for use in detecting counterfeit currency, mineral identification, pet stains, or forensic work.
With a clean flashlight, you can maximize your productivity and get the most accurate results every time!

