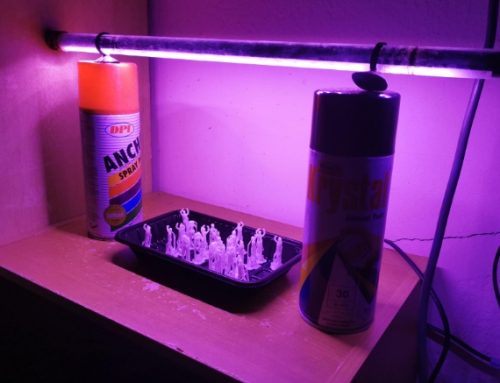
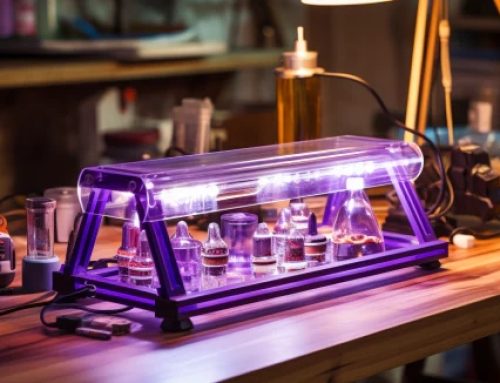
UV flashlights play a crucial role in resin curing, offering precision and control for projects requiring strong and durable results. This guide provides a detailed step-by-step process for using UV flashlights in resin curing and highlights important considerations to ensure optimal results.
Introduction to UV Resin Curing
UV resin curing involves using ultraviolet light to initiate a photochemical reaction that hardens liquid resin into a solid form. This process is commonly used in crafting, jewelry making, coatings, adhesives, and electronics. Compared to traditional curing methods, UV curing offers faster results, greater control, and fewer environmental impacts.
Step-by-Step Guide to Curing Resin with a UV Flashlight
Step 1: Choose the Right UV Resin
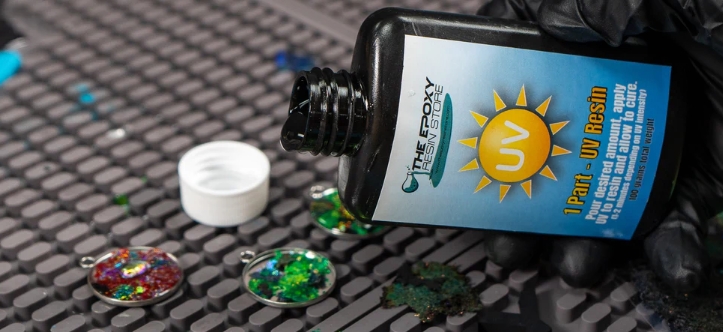
Select a UV-curable resin compatible with your project. Make sure to choose high-quality resin that matches the desired hardness, clarity, and curing time for your application.
Key Considerations:
- Low-viscosity resins are suitable for intricate molds or small details.
- High-viscosity resins work well for thick layers or larger pieces.
- Ensure the resin specifies UV curing compatibility.
Step 2: Prepare Your Workspace
Set up a clean, dust-free, and well-ventilated workspace. Ensure all tools and materials are within reach. Use safety gear, such as gloves and safety goggles, to protect your skin and eyes from resin and UV light.
Step 3: Select the Right UV Flashlight
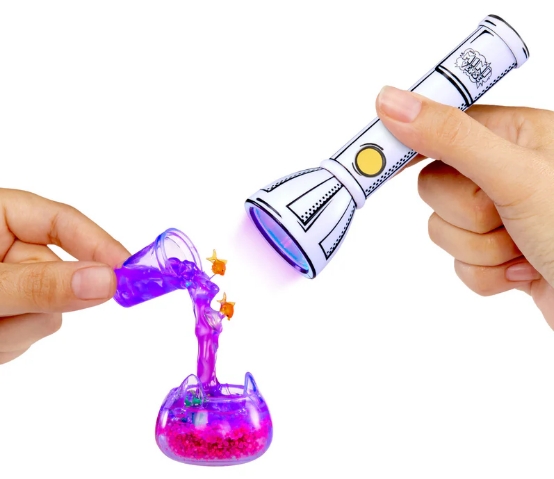
Choosing the correct UV flashlight is critical for effective curing. The key specifications include:
| Feature | Why It Matters | Recommended Range |
|---|---|---|
| Wavelength | Determines compatibility with the resin. | 365nm–405nm UV light |
| Light Intensity | Affects curing speed and efficiency. | 5W–12W for most resin applications |
| Beam Area | Helps target small or large curing areas. | Adjustable beam size preferred |
| Durability | Ensures long-term use without overheating. | Aluminum body, heat dissipation |
Step 4: Apply the Resin
Pour the resin into the desired mold or apply it directly onto the surface. Use a leveling tool or scraper to ensure even application. For multi-layered projects, apply thin layers of resin to ensure uniform curing.
Step 5: Start UV Curing
Hold the UV flashlight 1–2 inches away from the resin. Slowly move the flashlight across the surface to ensure even exposure to the UV light.
Tips for Curing:
- Thin Layers: Curing thin layers (1–2mm) provides the best results.
- Time: Curing times vary depending on the resin and flashlight intensity (typically 2–5 minutes per layer).
- Avoid Overheating: Take breaks if the flashlight or resin gets too hot.
Step 6: Check for Complete Curing
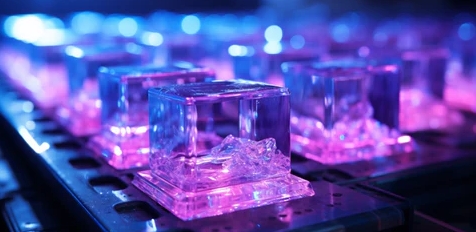
Inspect the resin for hardness and clarity after curing. If the resin feels tacky or soft, reapply the UV flashlight for another 1–2 minutes. For multi-layered projects, ensure each layer is fully cured before applying the next.
Step 7: Finishing Touches
After the resin has completely cured, remove it from the mold or clean the surface. Sand or polish the edges for a smooth finish, if necessary. Use a clear coat or additional UV resin for added shine or protection.
Common Problems and Troubleshooting
| Problem | Cause | Solution |
|---|---|---|
| Resin remains tacky | Insufficient UV exposure | Increase curing time or use a stronger UV flashlight. |
| Uneven curing | Uneven resin application or exposure | Apply thinner layers and move the UV flashlight evenly. |
| Overheating of resin | Excessive UV exposure | Cure in shorter intervals and allow cooling time. |
Benefits of Using a UV Flashlight for Resin Curing
| Traditional Curing Methods | UV Flashlight Curing |
|---|---|
| Long curing times (hours to days) | Fast curing (minutes) |
| Requires heat or external equipment | Compact and portable flashlight |
| Limited precision | Greater control and targeting |
| High energy consumption | Energy-efficient and eco-friendly |
Conclusion
UV flashlights are essential tools for resin curing, enabling fast and efficient results for a wide range of applications. By following this step-by-step guide and using the right tools, you can achieve professional-quality results while minimizing common issues. With the right UV flashlight and techniques, resin curing becomes a seamless and enjoyable process.
