
UV flashlights are essential tools in crime scene investigations, helping uncover evidence such as bodily fluids, fingerprints, and fibers that are invisible under normal lighting. This guide offers a detailed, step-by-step approach to using UV flashlights in forensic applications, complete with tips, comparisons, and precautions.
Why Use UV Flashlights at Crime Scenes?
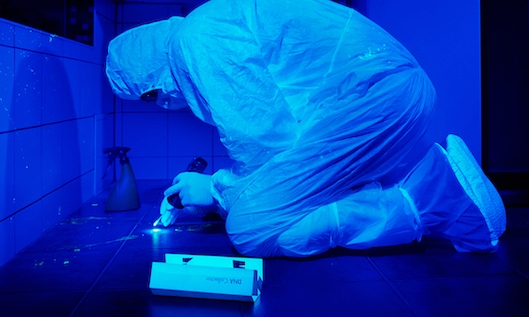
UV light reveals substances that fluoresce under ultraviolet wavelengths. These can include organic materials, chemical residues, and synthetic fibers, which are often pivotal in solving cases.
| Key Benefits of UV Flashlights | Description |
|---|---|
| Enhanced Evidence Visibility | Detects substances not visible in normal light. |
| Non-Invasive Examination | No need to alter or disturb the crime scene. |
| Portable and Efficient | Compact design makes it easy to inspect large areas quickly. |
Step 1: Selecting the Right UV Flashlight
Choosing the correct flashlight is crucial for effective evidence detection. Consider these factors:
| Feature | Importance | Recommendation |
|---|---|---|
| Wavelength | Affects the types of evidence detected. | Use 365nm for bodily fluids, 395nm for general applications. |
| Intensity | Determines how well evidence fluoresces. | Choose at least 3W for better visibility. |
| Durability | Required for outdoor or rugged environments. | Opt for shockproof and waterproof models. |
| Battery Life | Necessary for long investigations. | Use rechargeable lithium-ion batteries. |
Step 2: Preparing the Crime Scene
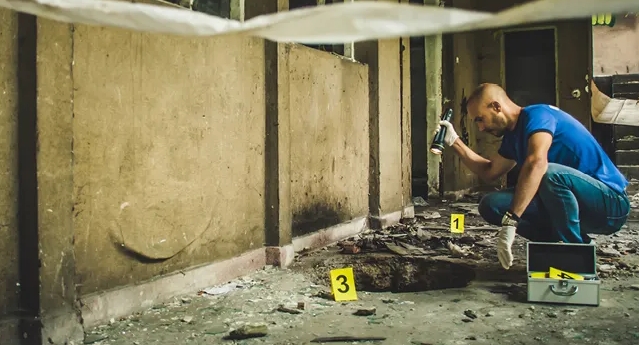
- Darken the Area: Reduce ambient light to enhance fluorescence visibility.
- Wear Protective Gear: UV light can damage skin and eyes. Always wear UV-blocking goggles and gloves.
- Document the Scene First: Capture initial photos in natural light to maintain context.
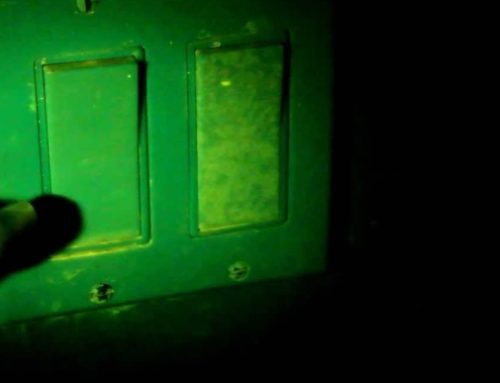
Step 3: Using the UV Flashlight
How to Inspect Specific Evidence Types
| Type of Evidence | Appearance Under UV Light | Tips for Inspection |
|---|---|---|
| Bodily Fluids | Fluoresces as bright white or yellow. | Use 365nm wavelength for the best results. |
| Fingerprints | Glows if treated with fluorescent powders or chemicals. | Scan non-porous surfaces like glass or metal. |
| Fibers and Threads | Synthetic materials often fluoresce in bright colors. | Sweep UV light across fabrics to detect patterns. |
| Bloodstains | Usually appears black under UV light without chemicals. | Apply luminol for enhanced visibility. |
| Trace Evidence (e.g., paint chips) | May fluoresce depending on the material’s composition. | Use a slow, sweeping motion to cover all surfaces. |
Step 4: Documenting Evidence
- Photograph Evidence Under UV Light: Use a camera with UV filters to capture clear images.
- Mark Evidence Locations: Use tags or markers for easy identification.
- Log Observations: Record details about the evidence, such as type, location, and fluorescence color.
Step 5: Collecting Evidence
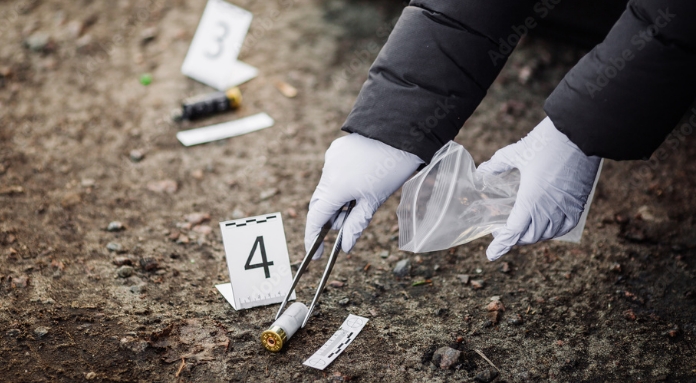
- Use Sterile Tools: Minimize contamination with tweezers, swabs, or gloves.
- Store Properly: Place collected items in UV-protected, labeled containers.
- Maintain Chain of Custody: Record all handling details to ensure evidence integrity.
Comparison of UV Flashlights for Crime Scenes
| Feature | Basic UV Flashlights | Professional-Grade UV Flashlights |
|---|---|---|
| Wavelength Options | Limited (e.g., 395nm) | Multiple (e.g., 365nm and 395nm) |
| Intensity | Moderate | High-powered for better fluorescence |
| Durability | Minimal shock or water resistance | Fully shockproof and waterproof |
| Battery Life | Short | Long-lasting, rechargeable batteries |
| Price Range | Low | Higher due to advanced features |
Step 6: Ensuring Accuracy
- Cross-Verify Findings: Use traditional forensic methods alongside UV analysis.
- Recheck Evidence: Sweep the scene multiple times with different wavelengths.
- Train Personnel: Ensure all investigators are skilled in using UV tools.
Conclusion
UV flashlights are vital for crime scene investigations, offering unparalleled efficiency in uncovering hidden evidence. By following this guide, investigators can maximize the utility of UV flashlights and ensure the collection of high-quality, admissible evidence.
